How to Install a Ceiling Fan: Premier Electric & Design, Inc.
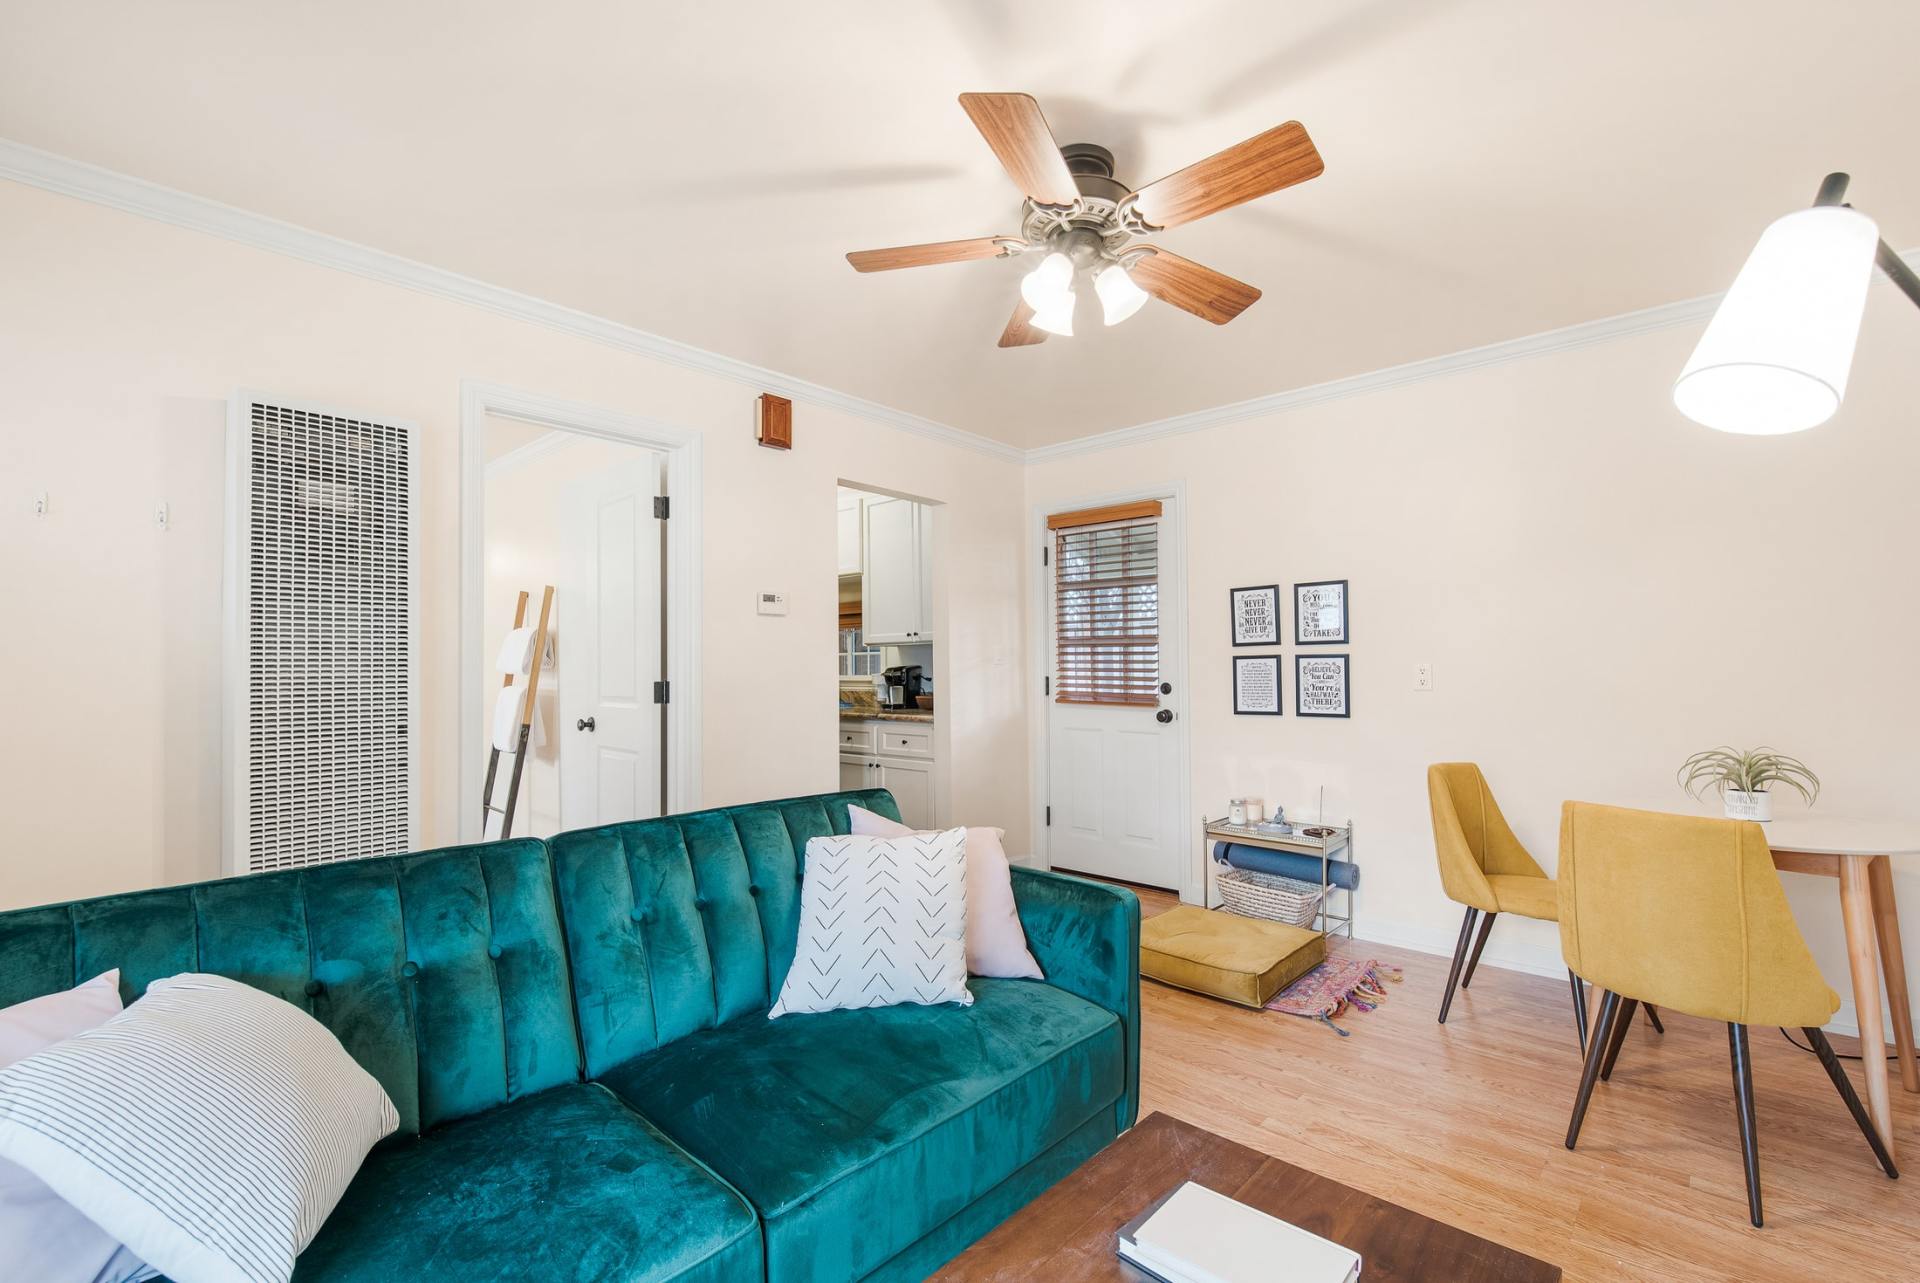
Installing a ceiling fan can make a dramatic difference in a room, improving air circulation, adding style, and helping you save on energy costs. Whether you’re looking to replace an outdated fixture or install a brand-new fan in a room, following the right steps can make the process smooth and efficient. In this guide, we’ll walk you through how to install a ceiling fan, and when it’s best to hire a licensed professional. For those who prefer leaving the job to a skilled electrician, Premier Electric & Design has a team of licensed electricians on Long Island ready to assist with seamless installations.

1. Prepare for Ceiling Fan Installation
Choose the Right Fan for Your Space
Selecting the right ceiling fan for your space is the first step. Ceiling fans come in various sizes, styles, and features, so consider the room size, ceiling height, and style of your decor. Small rooms can generally use fans around 36 inches or smaller, while larger rooms benefit from fans that are 52 inches or larger.
Gather Necessary Tools and Materials
Having the right tools will streamline your installation process. For most ceiling fan installations, you’ll need:
- Ladder
- Screwdrivers
- Wire cutters/strippers
- Voltage tester
- Adjustable wrench
- Pliers
2. Turn Off Power at the Circuit Breaker
Before beginning any electrical work, turn off the power at the circuit breaker to avoid electrical shock. Use a voltage tester to confirm that no electricity is running to the wires you’ll be working with. Hiring a licensed electrician near me is often advisable, especially if you’re uncomfortable with electrical work or if there’s any uncertainty about wiring or circuit setup.
3. Remove the Existing Light Fixture
If you’re replacing a light fixture with a ceiling fan, carefully remove the fixture after ensuring power is off. Unscrew and lower the fixture, disconnecting the wires one by one. Be sure to note which wires connect to each other, as you’ll need to wire the new fan in the same way. For help with ceiling fan wiring or reconfiguring circuits, consult a residential electrician to ensure proper installation.
4. Install the Ceiling Fan Mounting Bracket
A ceiling fan requires a sturdy mounting bracket that can support its weight and withstand the fan’s movement. Standard light fixtures often don’t provide the necessary support, so install a fan-rated box in its place. Carefully follow the fan’s instructions to mount the bracket. If you’re uncertain about the bracket’s stability or your electrical box, local electricians near me can inspect your setup for safe installation.
5. Assemble the Ceiling Fan Components
Each fan may come with unique instructions for assembly, so refer to the manufacturer’s manual. Most ceiling fans include a downrod that connects the fan motor to the mounting bracket. Attach the blades to the fan motor and set aside, ensuring all screws and connections are secure.
6. Wire the Ceiling Fan
Ceiling fan wiring is one of the most complex parts of installation, especially if the fan includes a light fixture or multiple speed settings. Generally, the fan will have three wires:
- Black or Blue: the fan’s power wire
- White: the neutral wire
- Green or Bare Copper: the grounding wire
Connect each wire from the fan to the corresponding wire from the ceiling. Wire connections may vary, so follow the manufacturer's instructions carefully. If you’re uncertain or prefer a professional installation, contact an electrician in my area who can complete the wiring with precision.
7. Attach the Fan to the Mounting Bracket and Secure
Once wired, carefully attach the fan motor to the mounting bracket and secure it according to the manufacturer’s instructions. This step may require an extra set of hands to hold the fan in place while attaching screws.
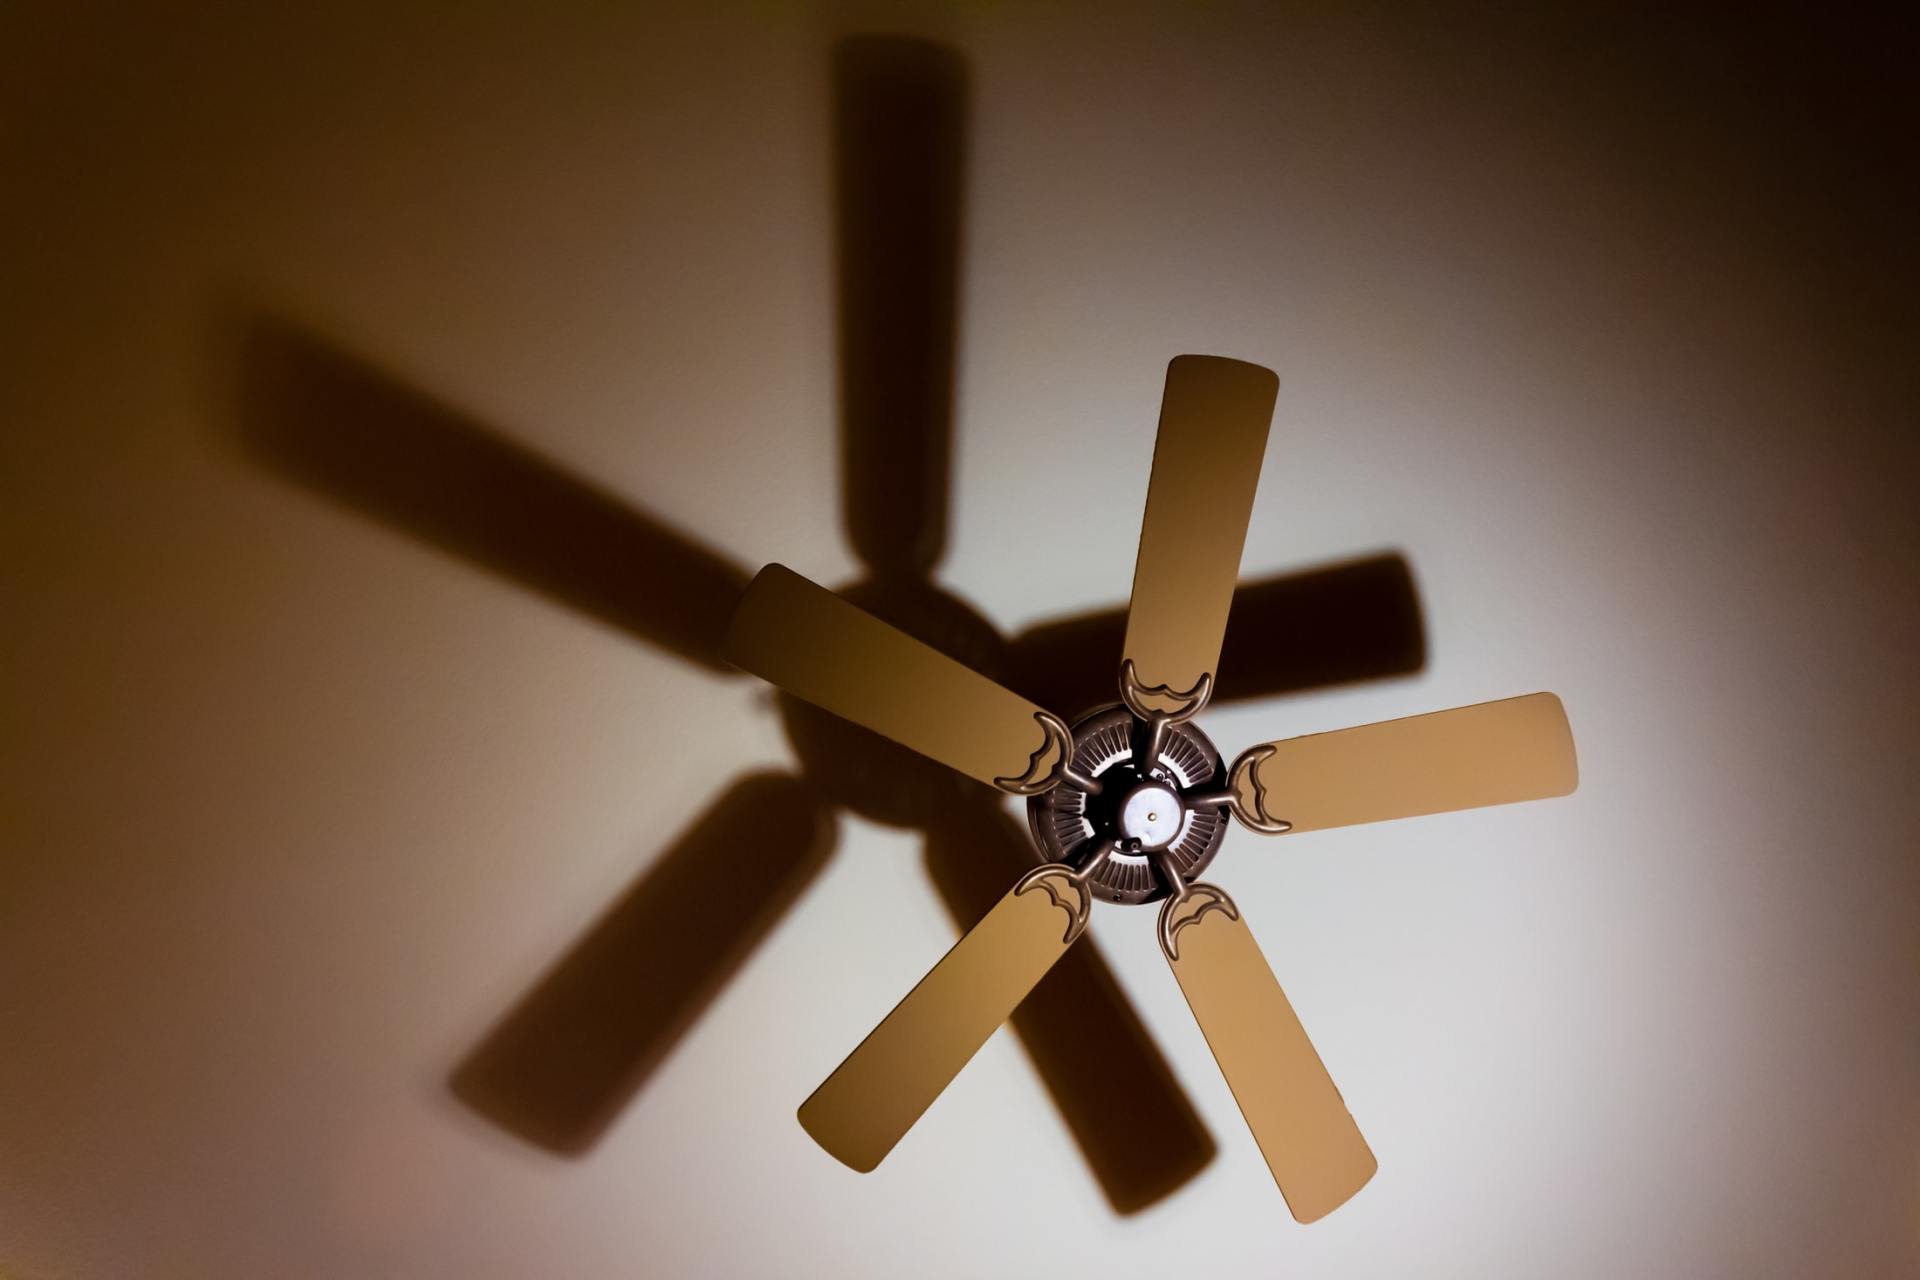
8. Test the Fan and Make Adjustments
After securely installing the fan, turn the power back on and test the fan’s functionality. Adjust the fan direction to optimize airflow for each season:
- Summer: Run the fan counterclockwise for a cooling effect.
- Winter: Run the fan clockwise to circulate warm air in the room.
If you encounter any issues during testing or notice imbalances, an emergency electrician near me can assess and adjust the fan to ensure safe and optimal operation.
Benefits of Hiring a Professional Electrician for Ceiling Fan Installation
While DIY installation can be rewarding, hiring a professional 24 hour electrician offers several advantages, especially if your installation involves additional electrical work or troubleshooting. Here’s why working with a licensed electrician near me is beneficial:
1. Safe and Compliant Installation
Licensed electricians are trained to handle wiring and complex installations in compliance with local electrical codes, preventing fire hazards and reducing the risk of improper wiring.
2. Efficient Troubleshooting
If issues arise during installation—such as inadequate wiring or circuit complications—a skilled electrician can troubleshoot and resolve these promptly, ensuring the fan operates smoothly.
3. Guaranteed Quality Work
Professional electricians ensure installations are performed correctly the first time, minimizing the need for repairs and guaranteeing a job done to high standards.
When to Call an Emergency Electrician for Ceiling Fan Installation
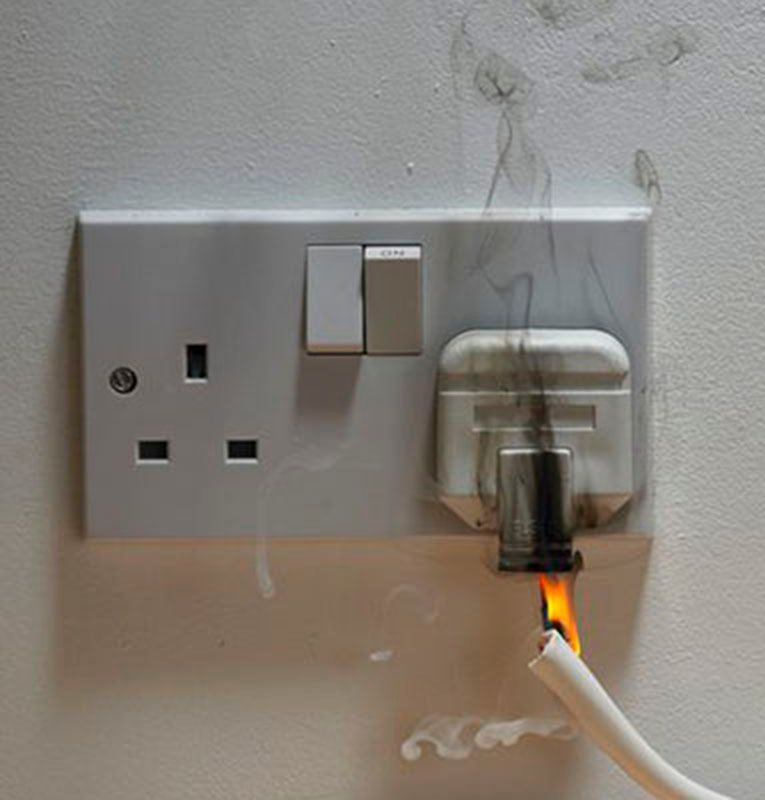
In certain cases, such as sudden wiring issues or other unexpected problems, calling an emergency electrician may be necessary. Here are some situations where it’s best to seek immediate assistance:
- Faulty wiring or circuit breaker tripping
- Exposed or frayed wires
- Electric shocks or burning smells
Premier Electric & Design offers emergency electrician services across Long Island for immediate response to these urgent needs.
How Premier Electric & Design Provides Top Ceiling Fan Installation Services
With experienced electricians throughout Long Island, Premier Electric & Design is equipped to handle all ceiling fan installations, from new wiring to troubleshooting complex electrical issues. Offering same-day service and 24-hour support, their team of affordable electricians near me ensures top-tier service whenever you need it. Here’s what sets them apart:
Comprehensive Electrical Expertise
Premier Electric & Design offers extensive experience in residential and commercial electrical installations. Their team can handle everything from basic installations to complex wiring setups for commercial electricians.
Licensed, Insured, and Local
All Premier Electric & Design electricians are fully licensed, insured, and trained, making them a top choice for those seeking “the best electrician near me.” With a focus on quality and safety, they’re known for reliable, trustworthy service.
Emergency and Same-Day Service
From emergency repairs to planned installations, Premier Electric & Design provides flexible scheduling, making it easy for Long Island residents to get immediate help from local electricians whenever needed.
Final Thoughts on Ceiling Fan Installation
Installing a ceiling fan can be a rewarding project that improves comfort, reduces energy bills, and enhances the look of your room. However, safe and correct installation is essential, and sometimes this means turning to professionals like Premier Electric & Design. With a team of skilled, licensed electricians on Long Island, they are ready to provide safe, efficient, and affordable ceiling fan installations to fit any need.
Whether you’re planning a DIY install or looking for the peace of mind that comes from a professional job, Premier Electric & Design is here to support you with quality service and reliable expertise.
Request A Service